asdsad
GALLERY | RESUME | TUTORIALS
 
Contact: Saman.mahmoudi@gmail.com
asd
  Warden - Making of  

Here I will describe the 3d part and discuss a little bit of the design choices I made when making this particular character. There were several different methods I tried but these were the ones that worked best for me at the time. I'm sure there are more effective ways of doing this but I wanted to share my workflow anyway.

Bakes

1. Modeling:

- Hard-surface modeling in 3ds max - Smoothing groups vs subd;
There are many good reasons to use sub-division modeling when making hard-surface parts. You can easily reconstruct a smoothed mesh and get the low-poly back through reconstruction in zbrush and it's possible to use continue working in maya or another 3d package. Using turbosmooth by smoothing groups is sometimes easier and you can get results that otherwise would be pretty hard to achieve by using subd such as smooth planar surfaces on a bent shape with details on it. Since I was the only one working on this piece it was ok for me to use turbosmooth by smoothing groups and a lot of the parts were gonna be reshaped in zbrush anyway. In the image below I wanted to have a curved surface with a rectangular shape extruded from it. This is very quickly achieved by using turbosmooth by smoothing groups but if you were to use subd you would get unwanted pinches around the extruded surface. The result to the left is of course possible to achieve by using subd but it would require more time.
In the end I think subd is more effective as you can have more control over it but in my own opinion turbosmooth by smoothing group is faster and easier for me for most things. This doesn't mean that I restrict myself to only using smoothing groups however. The good thing about these methods is that you can use both on the same mesh.

Bakes

- The Body;
Make sure the body underneath has good proportions otherwise the body will look odd without you not being able to put your finger on what it is. I painted out a quick rough sketch of how the body would look underneath the clothes and armor.


Bakes

- The Face - Expactations vs your own taste;
A night elf is an established character from the Warcraft series. They already have a certain look that people expect to see and changing that would require your character to have a good reason for it. The warden I made didn't have any real reason to look different from other nightelf females so I wanted to make her face look universally attractive as opposed to something that would only fit my own taste.


Bakes

- Shape patterns - 3ds max lines;
I initially modelled out the larger patterns on the warden's armor and planned on painting the smaller ones in the textures. The result wasn't very convincing to me so I decided to model them using lofted lines in 3ds max instead. I was a bit afraid that it would look too busy in the end but with some tweaking in zbrush and the textures it worked pretty well anyway. Another benefit of modelling these kind of small details is that you get a nice AO bake of them as well.


Bakes

2. Texturing
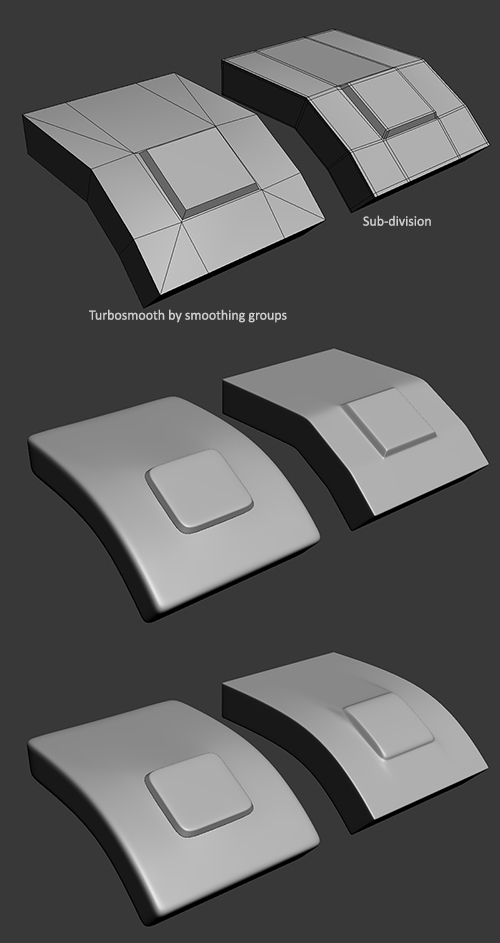
The first thing you need to do before baking out everything is getting a solid lowpoly mesh with good UV and no errors. Creating a sloppy lowpoly can cause significant problems later on as you need to redo all the bakes all over. In order to make the baking easier it's more safe to make the bigger changes to the highpoly and not just the lowpoly.
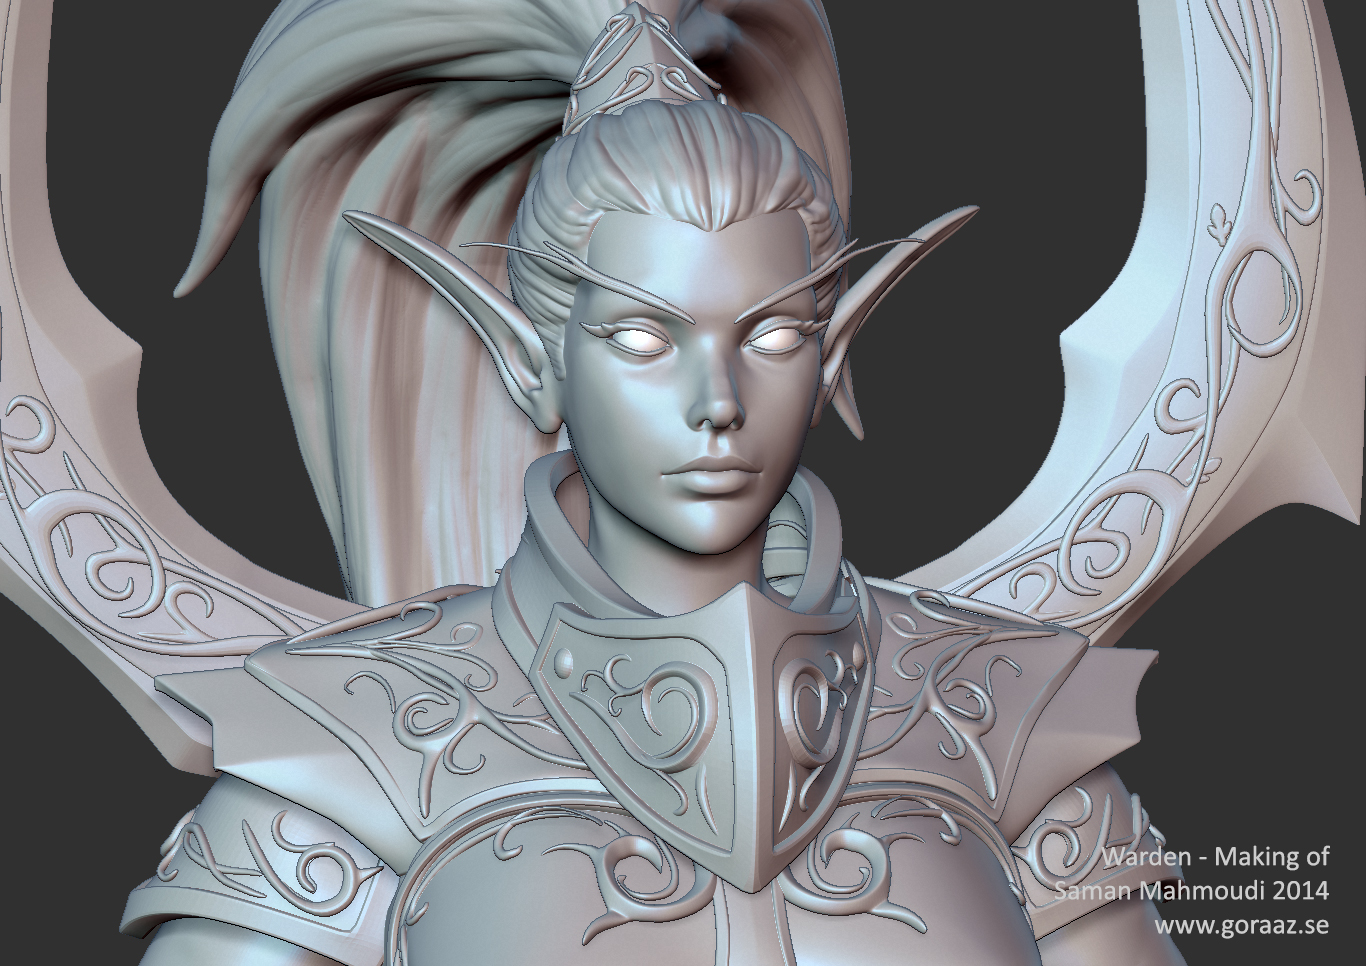
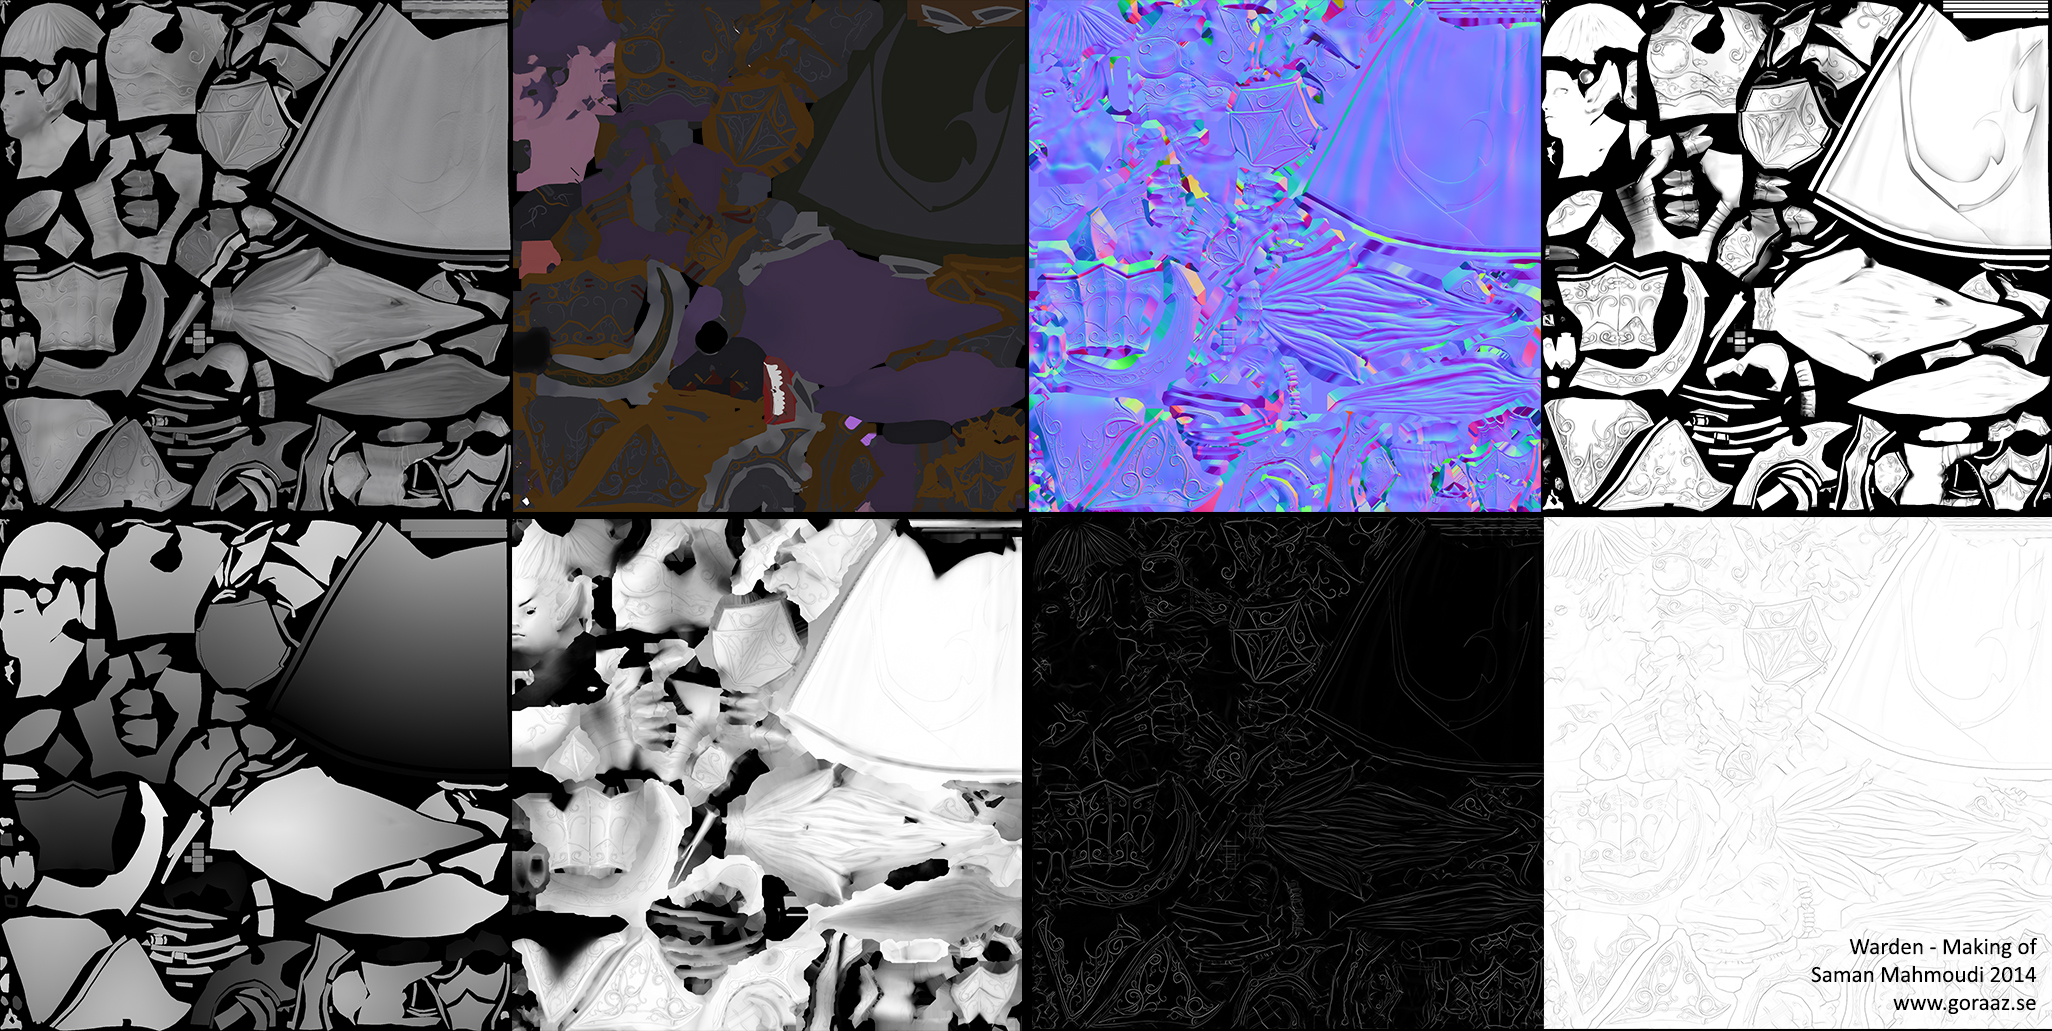
The bakes I use are a lighting map, AO, vertex color, normal map, gradient map, concavity, convexity and overall AO(since I bake my parts separately). I also bake an SSS map for the skin but the results have varied a bit over the range of characters I've made so they usually require a bit of tweaking as opposed to the other ones.

Bakes

3. Background
This is up to you. A simple 2d background can sometimes prove more effective than an entirely modelled and textured background scene. In a scene where the background also plays an important role such as Garrosh's throne room, it being 3d can improve the presentation more. I was planning on making a fully 3d background for the warden as well but it became too time-consuming and the result actually brought the presentation to a lower quality. Below is a quick step by step image of how I put together the presentation.


4. Lighting
This part of the presentation is very important. I usually use 3 point lighting along with HDRI. In order to decide on what kind of lighting you need you should consider thinking about what kind of lighting that would fit your character. The warden may be a night elf but she is also a darker character compared to Tyrande and more in the lines of Illidan. I decided to make a dark scene, almost Batman-like, pose of her standing and looking at the viewer.


And that's it. I hope this workflow guide was helpful.


All artwork (c) Saman Mahmoudi unless stated otherwise.
The nightelf warden is the property of Blizzard entertainment.
saman.mahmoudi@gmail.com